Monday, August 29, 2011

Healthy (AND yummy) Banana Bread!


Like I mentioned in a previous post, I am sort of a health nut. And by sort of, I mean that I go through phases: sometimes I eat a pretty average American diet, and sometimes I eat....well...a not so normal diet. With my last pregnancy, (and I'm sure if you've been pregnant, you can TOTALLY relate to this) I didn't eat so well. I was tired. I was cranky. I was tired. Did I mention I was tired? And cranky. Yup, that's pregnant me in a nutshell. ANYway, I didn't want to cook most of the time, which meant eating easy-to-prepare foods, eating out, or letting Bryan do the cooking. Green salads became a thing of the past. We became best friends with Cafe Rio. Mmmmm.....Cafe Rio....

Well, our sweet Bailee was born at the end of June, and I decided that the time had come to start eating better. It's taken almost 2 months of repeatedly jumping on the band wagon, and falling back off, to get into a sort of routine. And now we are back to eating a "not so normal" diet... very little sugar and salt, lots of fruits and veggies, and lots of fresh squeezed apple/carrot juice. Throw in a few grains, eggs, and chicken and that's about it!

And I can honestly say that I've had more energy in the past week than I can remember having in years! Which is exactly what I'm trying to accomplish. I just want to feel good!

SO, I thought I'd share a recipe that I tried out today that I thought was great! I can't take all the credit....I just used a great recipe from Allrecipes and tweaked it to be more healthy :) This is a VERY moist and flavorful banana bread. And when I say moist, I mean MOIST! It probably has something to do with the fact that you use 2 1/3 cups of mashed banana. This is also pretty darn healthy if you ask me- you use whole wheat flour, applesauce replaces part of the oil, and most of the sweetness comes from the bananas themselves. Here we go!

HEALTHY BANANA BREAD

INGREDIENTS:

2 C. whole wheat flour
1 tsp. baking soda
1/4 tsp. salt
1/4 C. vegetable oil
1/4 C. applesauce
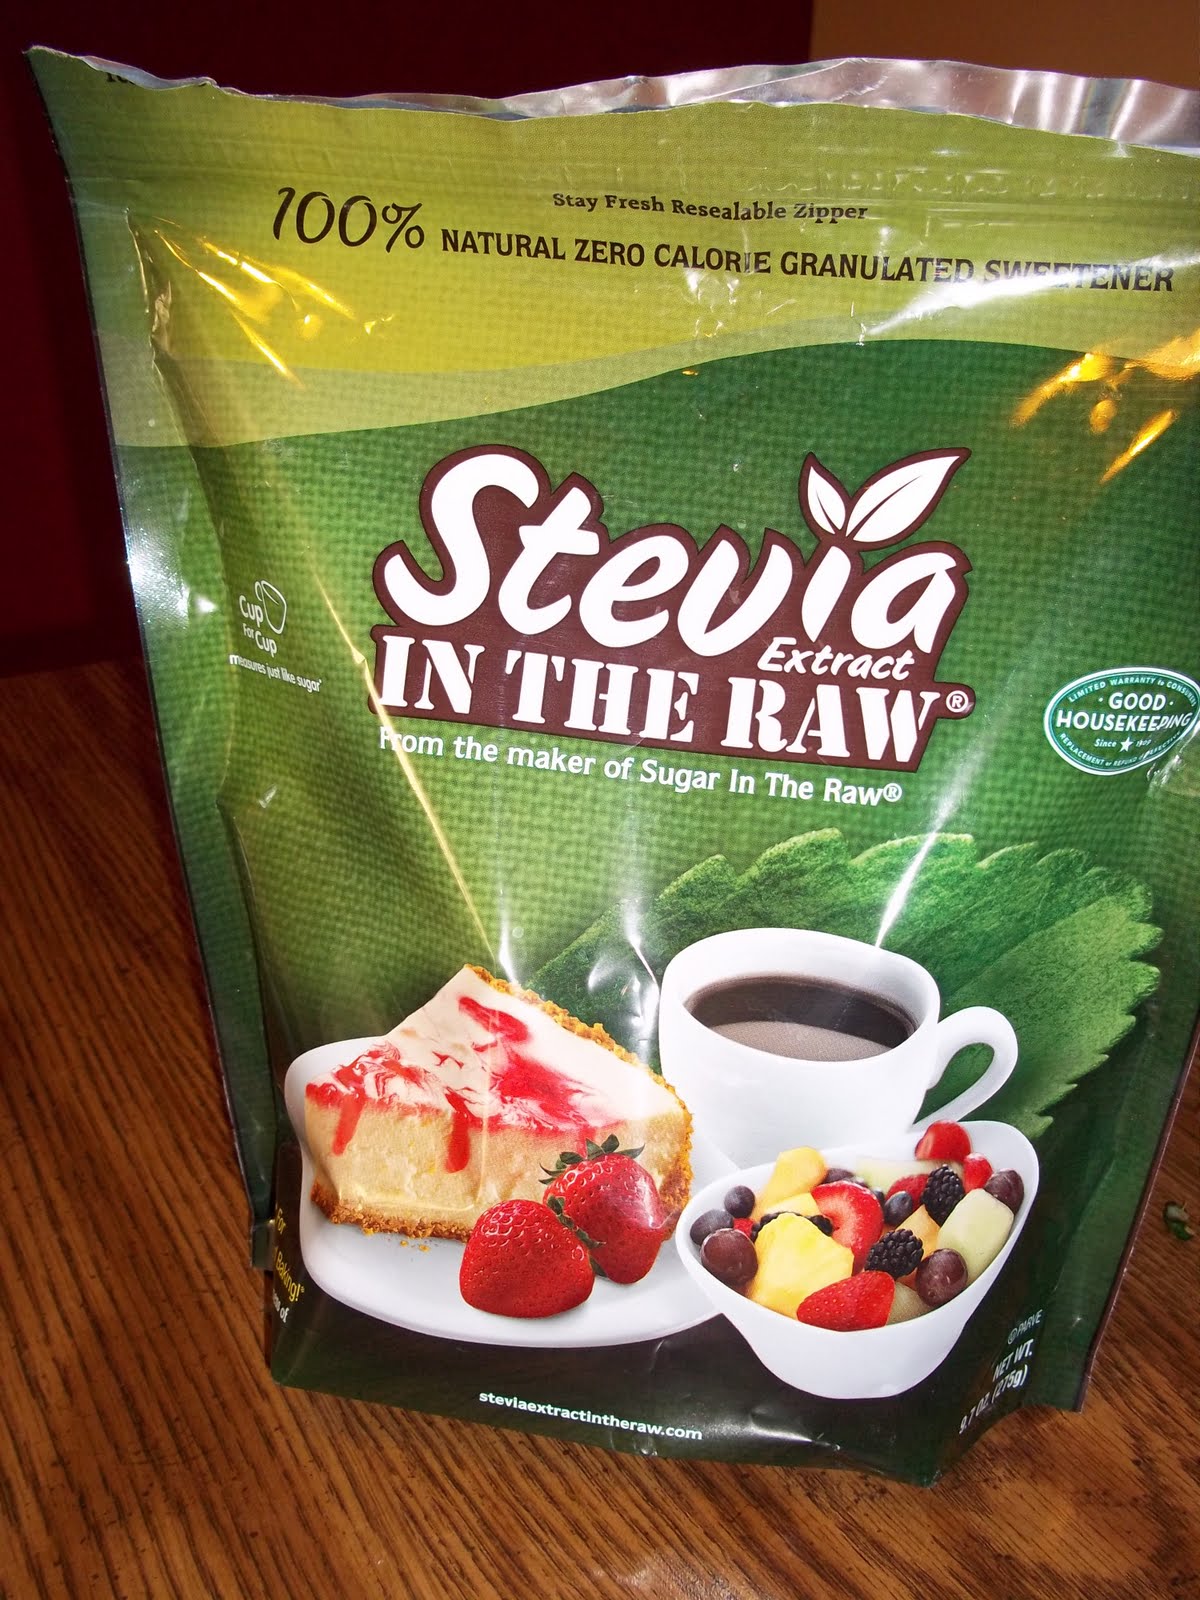
1/2 C. Stevia (or sugar...but don't be afraid of the Stevia! Try it!)
2 eggs
2 1/3 C. mashed, overripe bananas
3/4 C. raisins (optional)
1 tsp. cinnamon
1/2 tsp. nutmeg

Preheat your oven to 350 F. Grease a 9x5" loaf pan and set aside. In a large bowl, mix together the flour, baking soda, salt, cinnamon, nutmeg, and stevia (or sugar).


Side note: for those of you wondering what in the heck Stevia is... it is a sweet compound obtained from the leaves of the stevia herb. It has zero calories and is all natural. I'm pretty sure I just got this in the baking isle at Winco. A WAY better alternative to artificial sweeteners. DO NOT EAT ARTIFICIAL SWEETENERS! BAD BAD BAD!

Ok...off my soap box...

In another bowl, mix together the oil, applesauce, eggs and mashed banana. Add the wet ingredients to the dry ingredients and mix well. Fold in raisins. Pour batter into the loaf pan and bake for about 60-70 min. (It's done when a toothpick comes out mostly clean.)

Yum. Eat it warm. And if you want to be just a little naughty...eat it warm with butter. :)


Thursday, August 25, 2011

Monday, August 8, 2011

Cabinet update, and some family fun


Well, we're not completely done with the "cabinet" project, but I thought I'd post a few pics of our progress. It's been a huge learning experience! Needless to say, this won't be a perfect piece of furniture, but I am thrilled about how it is turning out so far! In the beginning.....

The framework


I promise I DID do some of the work....but mostly I held a baby and kept
little boys out of the way :)

Framework done! Now, time for the tricky part.....

Ladies and Gentleman! We have successfully installed a drawer!
(No, it's not as easy as it sounds....)


Aaaaaand, my favorite part: here's a sneak peak of what the drawer fronts will
look like when they're finished.
|

|
|

V


I'm so excited that this idea is coming together! I cut the decorative edges with a band saw out of lath sticks. I plan on sanding the edges after painting so the detail will kind of "pop". And seriously...Hobby Lobby is the best for having a 50% off sale on all their drawer pulls, right when I need it! These beauties cost me $1.50 a piece!


~~~~~~~~~~~~~~~~~~~~~~~~~~~~~~~~~~~~~~~~~~~~~~~~~~~~~~~~~~~~~~~~~~

And now, for some fun family pics that I just couldn't resist posting :)
Bryan's sister, Shaylene, and her family have been visiting from AZ for the past couple of weeks. They have a daughter Ethan's age (Evie), a son Conner's age (Sulli) and a son Bailee's age (Duncan). It is so fun to watch these guys run around together!


Thanksgiving point. We had about .5 seconds to take this picture before they all
ran in different directions.

Awww...why can't they live closer?

Sweet little Bailee

Oh my goodness. Can you believe the adorable-ness of this picture?
This is my brother Daniel right after Bailee's baby blessing. She loves him :)

She was blessed in the same outfit I was blessed in.


All the grandkids. I love Ethan and Evie's faces in this one! And how no one
is looking at the camera except grandma and grandpa...


This may just be my favorite picture ever of Conner. He was so proud of his
rainbows! (How could you NOT love that sweet little face!?)


I love my family. Life is good.
. .
U


Tuesday, August 2, 2011

A Tale of Two Kitchens


SO.

This is our kitchen.


You like it? Well, I do! ...especially when I think about how much better it looks/smells than when we first moved in. I wish I could find a good "before" picture for you so you could see them side by side, but alas... I never thought to take one. (Can you believe me?) But if you can picture poorly-made white cabinets with egg-yolk yellow countertops and disgusting low-end linoleum, you might get an idea. OH...and carpet in the dining room! Ugh!

Anyway, it really wasn't how the kitchen looked that inspired the kitchen makeover. It was the smell.... We knew it smelled bad when we bought the home, but we had no idea just how overpowering and hard to get rid of it would be. It got to where I would load up the kids and go ANYWHERE I could think of that would keep us out of the house. Something had to change.

So, one fine day as I sat at the park watching my boys play and thinking of ways to avoid going home, I decided to call my mom. I basically broke down and cried about how miserable we were in our own home.

And you know what?

My amazing parents dropped EVERYTHING they were doing, grabbed a few supplies, got into the car and drove down. And then proceeded to tear apart my kitchen.
They were there all day, pulling out old, smelly cabinets. Tearing out linoleum. Removing the 50 yr. old oven that we couldn't use because it smelled like someone had broiled a dead cat in it. And guess what we found hiding in basically EVERY CORNER OF THE ENTIRE KITCHEN?

Mouse droppings...
piles and piles... 3 inches deep in places!


Well...at least that explained the smell!
Long story short, my parents (have I mentioned how amazing they are?) cleaned it all up. We disinfected everything and painted the walls and floor with Kilz to kill the odor. We found a killer deal on kitchen cabinets at Chris and Dicks, and knowing we couldn't afford it, they bought them for us. (I almost get teary-eyed as I write this- thinking about how much our parents did to help us.) Bryan and I assembled them, and our dads came over and spent hours helping us install them. Bryan and his dad built and installed the countertops. My parents got a new oven and dishwasher, and gave us their old set.

And there you have it! A brand spankin' new kitchen! So- why, you ask, am I telling this story?

First- because I'm convinced that I have the most amazing parents/in laws in the world. I think they deserve some recognition. This is only ONE of the many stories I have to tell about their endless kindness and generosity.

Second-I am about to embark on an exciting building adventure! [insert cool theme music here]

I am going to tackle....

THE WALL.


Does this picture make you shudder too? Our problem is... we didn't ever replace the pantry that was here before. We just couldn't fork out the $800 or more it would have cost to buy the matching maple ones. And, well....we still can't. BUT after much thought/debate, Bryan and I have come up with what we think is a good solution. It will look a little something like this:


Um.... if you can't tell what it is, cock your head to the left. There ya go. That is the basic idea anyway :) It includes a narrow pantry on the right that will hold the garbage/recycle cans, broom, mop, etc. The part I'm most excited about is the drawer/cabinet/console table thingy. (Anyone have a good name for it?) I drew up the plans and bought the lumber today.

SO EXCITED!

Here is a closer look...


For this one you have to cock your head to the right. Sorry.

Well, that's about all for tonight. Thanks for sticking with me through this crazy-long post! Updates on the table/cabinet/drawer thingy to follow!